The bartending craft
6 Foundational Bartending Techniques Every Bartender Must Master
Bartender.com.vn · 17/07/2026 · 9 min read
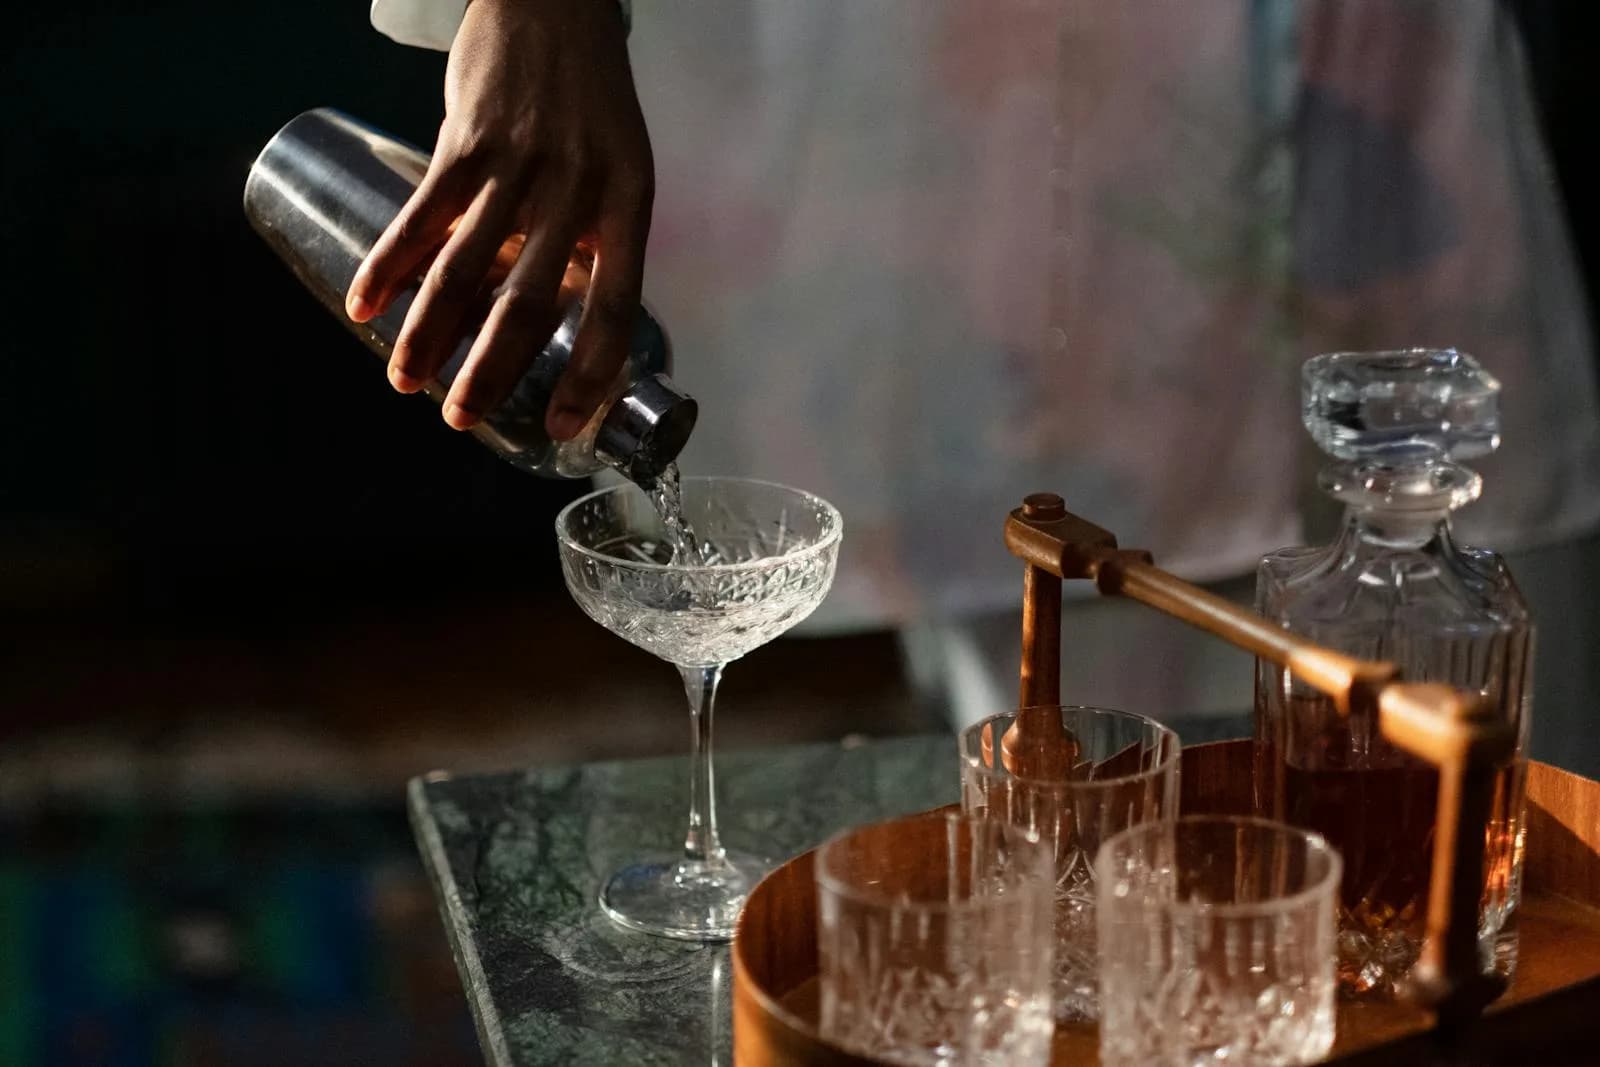
Shake, stir, build, muddle, layer and blend are the root techniques of bartending. Knowing the principle behind each, when to reach for it, and how to avoid common mistakes lets you control the flavor, texture and look of every drink.
Quick answer: the six root techniques
The six foundational bartending techniques every bartender must master are: shake, stir, build, muddle, layer/float and blend. These are the root skills; almost every drink recipe you will ever meet is just a variation or combination of these six actions.
The easiest way to remember them is by purpose. Shake and stir both chill and dilute in a controlled way, but shaking also aerates while stirring keeps the drink clear. Build means mixing directly in the serving glass. Muddle extracts aroma from fresh ingredients. Layer stacks liquids by density. Blend purees hard ingredients together with ice.
The table below sums up the four things you need to remember for each technique: what it does, when to use it and the main tool. If you do not yet own the gear, read our Basic Bartending Toolkit article to equip yourself before practicing.
| Technique | Purpose | When to use | Main tool |
|---|---|---|---|
| Shake | Chill fast, dilute ~20–30%, aerate to create foam | Drinks with juice, fruit, egg white, dairy or thick syrup | Shaker + strainer |
| Stir | Chill, dilute lightly ~15%, keep crystal clarity | Drinks of clear liquids only, needing clarity and silkiness | Mixing glass + bar spoon |
| Build | Mix directly in the serving glass, keep fizz and freshness | Simple assembled drinks with soda or ice | Serving glass + bar spoon |
| Muddle | Press out oils and juice from herbs and fruit | When fresh aroma from mint, citrus or berries is needed | Muddler |
| Layer/Float | Stack unmixed layers by density | Presenting distinct, separated colors | Bar spoon (pour over the back) |
| Blend | Puree hard fruit and ice into a smooth mixture | Frozen drinks, fruit you cannot juice like banana or mango | Blender |
Shake — chill, dilute and aerate
Shaking means vigorously shaking ingredients with ice in a sealed shaker. It does three things at once: it chills very fast, dilutes by about 20–30% as ice breaks and melts, and aerates the drink to create fine foam and a light texture. Because it is strong and fast, shaking is the choice when you want to fully integrate hard-to-mix ingredients.
The rule for choosing to shake is simple: use it when the drink contains fruit juice, dairy, cream, egg white or thick syrup. These ingredients need both dilution and air to soften and gain a refreshing texture. A passionfruit juice shaken with ice and syrup will carry a fine head of foam that gentle stirring cannot produce.
For technique, hold both parts of the shaker tight, shake decisively in an even up-and-down path for about 10–15 seconds until the shaker frosts over. Then strain out the ice and pulp. Shaking too long only over-melts the ice, leaving the drink watery and flat.
Stir — preserve clarity and silkiness
Stirring means gently rotating ingredients with ice using a bar spoon in a mixing glass, chilling and diluting while introducing almost no air. The result is a crystal-clear, foam-free drink with a silky, slightly viscous body. Dilution from stirring is lower than shaking, typically around 15%.
Choose stirring when the drink is made only of clear liquids, with no cloudy juice, dairy or fruit, and you want to keep both the clarity and the depth of flavor. Because stirring does not shatter the ingredient structure the way shaking does, it honors subtlety and keeps the drink richer rather than lighter.
The correct technique is to stir in one direction, using only wrist and elbow so the back of the spoon glides against the glass wall, avoiding ice clatter that clouds the drink. Stir for about 20–30 seconds until it reaches the target temperature, then pour. The table below captures the core differences between shaking and stirring.
| Criteria | Shake | Stir |
|---|---|---|
| Dilution | High (~20–30%) | Lower (~15%) |
| Aeration | Yes — foam, light texture | Almost none — keeps density |
| Clarity of result | Slightly cloudy, foamy head | Crystal clear, smooth |
| Working time | ~10–15 seconds | ~20–30 seconds |
| Perceived texture | Light, cool, refreshing | Rich, smooth, silky |
Build — assemble directly in the glass
Building is the simplest technique: you pour the ingredients one by one straight into the very glass you will serve in, usually already filled with ice, then stir a turn or two if needed. No shaker, no intermediate mixing glass, so it is often the first technique a beginner masters.
Building suits simple assembled drinks, especially when there is a carbonated component like soda or tonic whose bubbles you do not want to lose. Many refreshers, highball-style iced drinks and machine-made coffees are built this way to keep freshness and fizz.
The key tips are the pouring order and how you handle ice. Fill the glass with ice first so the drink chills evenly and the ice melts more slowly, add the carbonated part last, and stir only gently so the bubbles do not collapse. For drinks that need lifted aroma, expressing or wiping citrus peel over the rim is a familiar finishing touch.
Muddle — extract aroma from fresh ingredients
Muddling uses a muddler to gently press herbs, fruit or spices right in the glass or tin to release their oils and juices. It is the fastest way to bring genuine fresh aroma into a drink rather than relying only on syrup or flavoring.
Use muddling when a recipe needs fresh scent and taste from mint, basil, citrus slices, ginger or berries. The principle is to press and twist the wrist to lightly tear the surface, not to crush. For leafy herbs, a few soft presses are enough to awaken the oils.
The most common mistake is muddling too hard. With herbs, crushing releases the chlorophyll and stems, creating bitter, grassy notes. With citrus peel, over-pressing extracts the bitter white pith. Muddle just enough to smell the aroma rise, then add ice and the remaining ingredients.
Layer/Float — stacking by density
Layering, also called floating when you add just a top layer, is the technique of stacking several liquids into distinct, unmixed tiers in one glass. The core principle is density: the more sugar a liquid contains, the heavier it is and the lower it sinks, while lighter liquids float on top.
So the pouring order goes from heavy to light. Sweet, concentrated ingredients like syrup or reduced fruit juice form the bottom base; thinner, less sugary ingredients go on the upper tiers. To be sure, you can consult a density chart for each ingredient.
The technique trick is to pour very slowly over the back of a bar spoon held close to the surface of the liquid already in the glass. The spoon back spreads the flow gently, laying the new layer on top without piercing and breaking the tier below. This demands a steady hand and patience more than strength.
Blend — handling hard ingredients and ice
Blending uses a blender to puree ingredients with ice into a smooth, uniform mixture. It is the choice when shaking or muddling cannot break the ingredient down, or when you want a smooth frozen result.
Use blending for fruits you cannot juice such as banana, mango, pear or apple, or when you need a thick frozen texture. Cutting the fruit small and crushing the ice before adding it helps the blades work more easily and yields a smoother, more even mixture.
Controlling the ice ratio is the crux. Too much ice makes it watery and bland; too little leaves the mixture loose and unable to hold shape. Blend in short pulses, stop to check, then add ice gradually until you reach the desired thickness.
Common mistakes and pro tips
The most common beginner mistake is choosing the wrong technique for the ingredients. Stirring a drink with cloudy juice yields a flat, foamless glass; conversely, shaking a drink meant to be crystal clear turns it cloudy and unintentionally foamy. Let the nature of the ingredients decide the action.
The second group of mistakes involves ice and timing. Ice that is too small, or shaking/stirring for too long, leaves the drink watery and unbalanced. Use large, dense, deeply chilled ice, and time yourself while practicing to feel the right moment to stop. Always taste before serving.
On hygiene and consistency, chill the glass first, use a jigger to measure precisely rather than guessing, and rinse tools between drinks so aromas do not carry over. Steadiness across every glass is the mark of a professional bartender, more than flashy moves.
If you want to learn these six techniques methodically with hands-on correction, the foundational bartending courses at Bartender.com.vn guide you from how to hold the tools and measure, through repeated practice to service standards. Learning with feedback shortens the journey far more than self-teaching.
Frequently asked questions
Which technique should I learn first?
Start with build as the simplest, then shake and stir since they appear most often. Muddle, layer and blend can come once your hands are trained and you understand how ingredients react.
How do I know when to shake versus stir?
The root rule is that if the drink has juice, fruit, dairy or egg white, shake it; if it is only clear liquids and you want a crystal-clear, silky glass, stir it.
Why is my drink watery?
Usually because the ice is too small, already partly melted, or you shook/stirred too long. Use large dense ice, time about 10–15 seconds for shaking and 20–30 seconds for stirring, then pour immediately.
How do I muddle herbs without bitterness?
Press and twist gently just a few times to release the oils, do not crush. Over-muddling tears the stems and leaf tissue, releasing bitter, grassy compounds.
Do I have to buy all the tools at once?
No. Starting with a shaker, strainer, bar spoon, muddler and jigger lets you practice most techniques; a blender and mixing glass can come later. See the Basic Bartending Toolkit article to choose in priority order.
References
Huong Nghiep A Au — Bartending Techniques — https://www.huongnghiepaau.com/hoc-pha-che/ky-thuat-pha-che
Huong Nghiep A Au — Stir & Muddle Techniques — https://www.huongnghiepaau.com/ky-thuat-pha-che-stir-muddle
European Bartender School — Shaking vs Stirring — https://www.barschool.net/us/blog/shaking-vs-stirring
Cotswold Cocktail School — Shaking vs Stirring Cocktails — https://www.cotswoldcocktailschool.com/blogs/cocktail-making-techniques/shaking-vs-stirring-cocktails
Planning an event?
Get a free quote
Tell us about your event and our team will recommend the right package and send a detailed quote — no commitment.